Feed Your Divine – Sides and Snack Recipes from Caroline
Untangle the overcomplicated world of food and nutrition.
Fri 20 Apr 2018
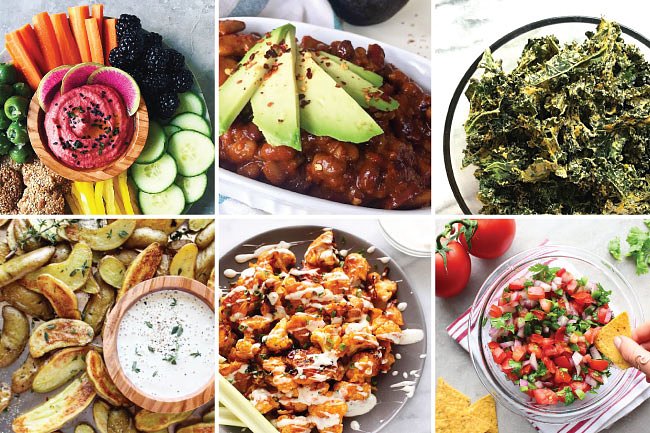
Untangle the overcomplicated world of food and nutrition. Learn how to mindfully and sustainably nourish the body through an abundant and wholesome plant based diet. From the science to the spiritually, Caroline shares knowledge and wisdom, as well as personal stories to inspire you to feed your unique and divine body and spirit at our weekend retreat. Here Caroline gives you a sneak peak by sharing some sides and snack recipes…
Homemade Seed Crackers

I’ve mentioned before that I don’t love the term ‘superfood’ because almost every edible plant food has ‘super’ qualities and health benefits. However, seeds may be my exception because they are so incredibly nutrient dense! Packed with fiber, protein, healthy fats, omega-3’s and a variety of micronutrients like zinc, magnesium, iron, b vitamins and vitamin E.
Seed crackers are one of my go-to, satiating snacks and a delicious way to get in that daily dose of super seed goodness. Unfortunately my cracker habit was quickly becoming an expensive one, as those tiny boxes rarely lasted more than a day or two. So I worked with my mother, and fellow seed cracker junky, to bring you this crazy easy recipe. These crackers are as good, if not better, then the store bought and will healthfully feed your love for seed crackers without breaking the bank.
Crunch on friends!
Ingredients
1/3 cup sesame seeds unsalted
1/3 cup sunflower seeds unsalted
1/3 cup pumpkin seeds unsalted
1/3 cup quinoa uncooked
2/3 cup brown rice flour
3/4 cup filtered water
1/4 – 1/2 tsp salt
1/4 – 1/2 tsp soy sauce , tamari or liquid aminos
Instructions
1. Preheat oven to 375. Line a large baking sheet with a piece of parchment paper and then rip off an extra piece of equal size.
2. Combine all ingredients together in a large mixing bowl, stir well until thoroughly incorporated.
3. Pour seed mixture onto the middle of the lined baking sheet.
4. Place the extra sheet of parchment paper over top the mixture and press down to spread evenly over the baking sheet. Then use a small rolling pin (a wine or oil bottle works too) to spread the mixture out as thin as you can.
5. Carefully remove the top piece of parchment paper and bake cracker mixture in the oven for 10 minutes
6. After 10 minutes, the cracker mixture should be harder but somewhat malleable. Use a pizza cutter and slice crackers into squares, rectangles or whatever shape you like. Put them back into the oven and bake for 10 minutes more.
7. Your crackers may be done at this point or depending on your oven and the thickness of the crackers, they may need more time. If they need to cook a bit longer, bake in 5 minute intervals until crackers are golden brown and crispy. Allow them to cool before storing in an air tight container.
Recipe Notes
*if using salted seeds, omit or cut salt
*circle crackers look nice but I actually prefer making the crackers square so there is no waste
*these crackers are plain but feel free to add in spices like rosemary, cayenne pepper or cinnamon to create different flavors!
Buffalo Cauliflower Bites
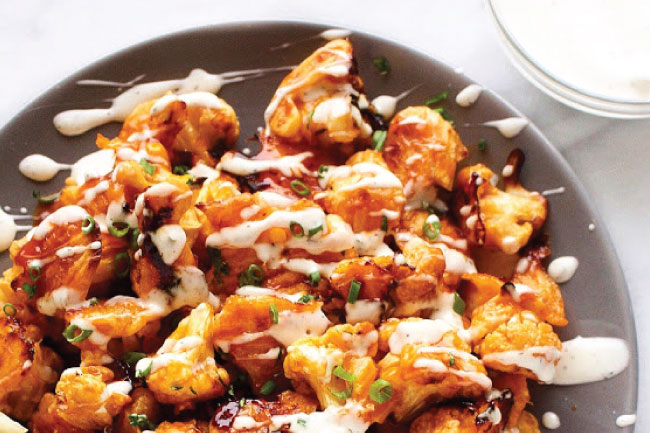
This is one of my favorite recipes of all time!
These buffalo cauliflower bites have been a party staple and crowd pleasing favorite for several years now. I am so excited to finally be sharing this recipe with you! You can enjoy them straight off the tray, serve as an appetizer, put them on a salad, use them for tacos or sandwiches – lots of possibility.
I initially deep fried the bites, which was undoubtedly delicious but not very healthy (and so much wasted oil). I began experimenting with baking them and was so pleased with how they turned out. As a bit of a spice wimp, I made the buffalo sauce with some heat heat – but not too much. You can of course crank it up if you’d like.
The bites only take about 45 minutes to make start to finish, but truth be told they will probably disappear in under 5. Don’t worry though, the recipe can be doubled, or tripled, or quadrupled
Servings 4
Ingredients
1/2 cup garbanzo bean flour
1/2 cup all purpose flour (gluten-free or regular)
1 cup cold water
1/2 tsp baking powder
1/2 tsp Himalayan Pink Salt
1 head cauliflower
Buffalo Sauce
2/3 cup hot sauce
1 clove minced garlic
3 tbsp light agave nectar (more or less to heat preference)
2 tbsp avocado oil or melted vegan butter
Garnishes
celery sticks
Follow Your Heart bleu cheese dressing or ranch
Instructions
1. Preheat oven to 450 and line a large baking tray with parchment paper.
2. Cut cauliflower into bite sized florets.
3. Stir together flours, baking powder and salt. Mix in cold water to form a batter.
4. Work each floret through batter, allowing excess to drip off before placing on the lined baking sheet. Try not to crowd.
5. Bake cauliflower for 30 minutes, flipping halfway through.
6. While cauliflower is baking, whisk together buffalo sauce over low heat. I like to do this in a large sauce pan for easy tossing once the bites are done.
7. When the cauliflower is done, gently swirl and toss in buffalo sauce. Serve immediately with celery sticks, vegan bleu cheese or ranch.
Recipe Notes
These can also be fried instead of baked for a more authentic texture and flavor.
Cheesy Kale Chips
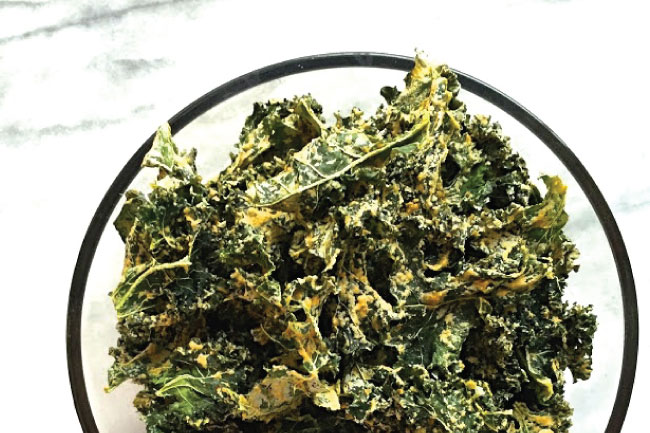
I never fathomed consuming an entire bunch of kale in one sitting until I found myself at the bottom of a plate that once held a tower of these Cheesy Kale Chips. Yikes!
Excessive? Maybe. Regrettable? I mean 1 cup of cashews is a lot for one person but KALE right?!
All joking aside, I know a dehydrator is not the most common kitchen appliance around. I got mine from Aldi for about $20 a few years ago while I don’t dehydrate often, I will say that these kale chips alone, make finding the space and few extra bucks totally worth it. I promise you!
Ingredients
1 bunch of kale
Cheese Sauce:
1 cup raw cashews soaked
1 tbs nutritional yeast
1 tsp onion powder
1 tsp garlic powder
1/2 tsp salt
1/2 tsp smoked paprika
1/4 tsp cayenne pepper
1 tsp lemon juice
1/4 cup plant milk
Instructions
1. Wash, de-rib and dry kale. Rip into chip/bite size leaves.
2. Combine all cheese sauce ingredients in a high speed blender until it reaches creamy texture. About 1-2 minutes.
3. Pour sauce over kale and massage into leaves to thoroughly coat.
4. Arrange massaged kale onto the dehydrator trays – try not to over lap. Dehyrdate overnight or until crispy – roughly 12 hours.