Homemade Paper Making!
A tutorial on making paper out of scraps you already have!
by Hannah Gilliland · Sun 26 Nov 2023
If you're anything like me, you've been holding onto a stack of cards for years - every birthday, holiday, thinking of you, stacked in a pile or maybe kept safe in a shoe box. I always think I'll read back through them but I never actually do, so I decided it's time to do something with all of them. It's time to make paper to send back to my loved ones out of all the notes they've sent me over the years (of course I kept the sentimental ones, this project is for the "Hi! Hope you're well!" notes). Who doesn't love snail mail, I definitely do!
Let's get into it!
To start, gather your materials:
- I used old cards but you can use pretty much anything to make paper. Cards, dryer lint, receipts, junk mail, a book, grass, anything you can shred or rip apart!
- A mesh frame, also known as a deckle - I used window screen thumb-tacked tightly to a picture frame
- An old blender
- A shallow bucket/washing basin
- A sponge
- An old top sheet
Once you have all your supplies, it's time to prep your material scraps and get started!
- Rip or shred your choice of material and put them in your basin with some water to soak. This helps ensure the paper pulp is nice and soft and ready to blend!
- After your material is nice and soggy, add a handful to the blender and add double the amount of water. Blend, blend, blend adding more water as needed until you get an oatmeal like slurry.
- If desired, add any extra elements here like glitter, wildflower seeds, food coloring, etc!
- Fill your basin at least 1/3 of the way full, and add your slurry mixture!
- Mix water and slurry with your hands to dissipate. The more slurry, the thicker your paper will turn out.
- Here's the super fun part! Dip your frame into the mixture at a 45-degree angle to scoop up your pulp, giving it slight tilts to even and flatten the mixture on the screen. I find it easiest to do this in as close to a fluid motion as possible!
- If you're not happy with the thickness of your paper, dunk it back in your bucket! The cool thing about making paper is how forgiving each step is!
- If you are happy with your paper, flip your screen upside down onto your old sheet and use your dry sponge to sponge your paper through the screen and get out excess moisture.
- Lift your screen from the sheet slowly and gently as to not rip your paper.
- Repeat the dipping and sponging process for as many sheets of paper as you want! I always make more than I need because I know some will rip.
- Leave your paper to dry on the sheet overnight or until fully dry!
- Peel gently from edge, holding the sheet fabric taut to guide the paper.
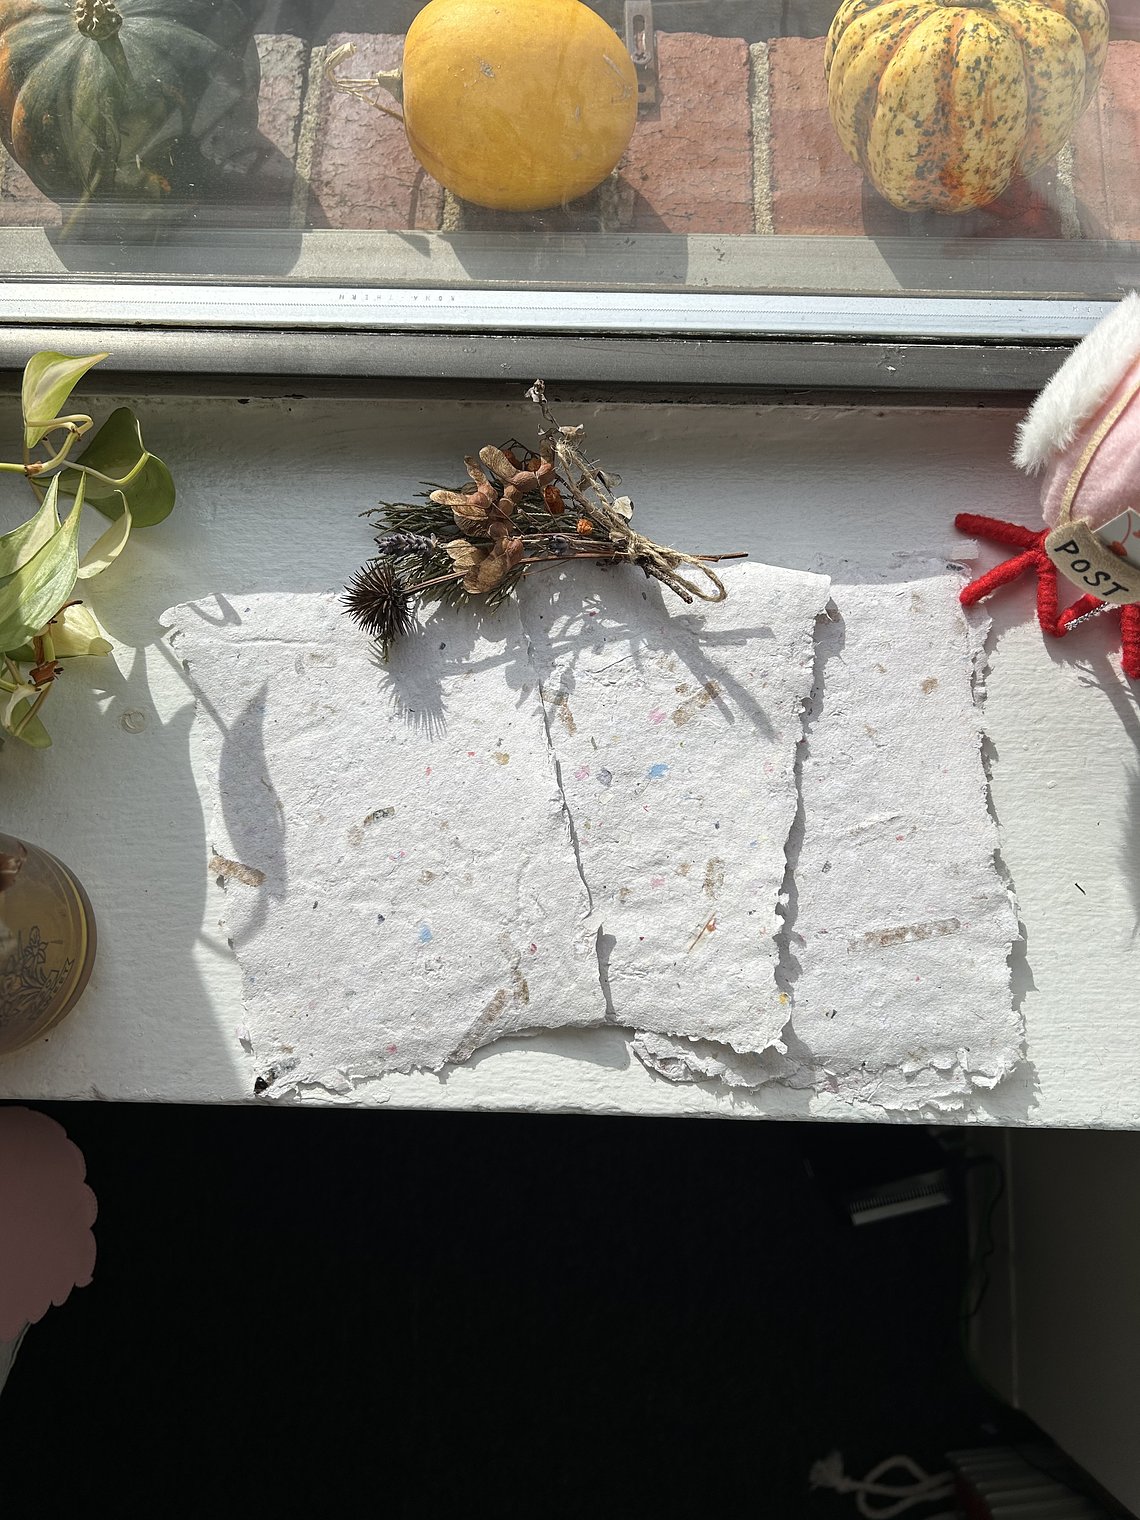
- If desired, press your paper under heavy books to flatten it!
Ta-da!!! You made paper! The beautiful thing about DIY is taking things that you already have that you may love, like cards from loved ones, that you may find a nuisance, like junk mail, and turning them into something unique. No two DIY projects will look the same and if being in the scene has taught me anything, it's taught me to embrace my mistakes and look for the beauty in them.
Thanks for crafting with me!
Rise Gatherings offers transformational experiences for women and nonbinary individuals to connect with community, nature and other resources for renewal, growth and empowerment.